Release Notes
Release notes specify the version changes of The DigiBoard Application
Release notes specify the version changes of The DigiBoard Application
Welcome to the first release of The DigiBoard, a "The Digi Business" product. There are some features in this version that we hope you will like, and all features will be introduced here:
The DigiBoard now supports Internationalization. In the early versions only a few languages are supported. In the future versions more languages are implemented to fit the need of the users.
Payment System & Licenses
Mac OS Version:The Digiboard Mac OS Version
Encryption addition:Option to change passphrase for digiboard added
Online DigiBoards:Adding models to the board can be handled in two different ways:
In general all actions like add, open, and zoom can be found by right click on a model or going to the " Edit Menu"!
Editing models allow you to change the content of each business model, and therefor alter any information needed.
Open model gives you view rights to the selected model and can therefor not alter any information of the selected model.
The "Delete Model" option allows you to remove models from the board
The zoom feature, when clicked, allows you to drag the adjacent slider up and down to zoom in and out of the model
All digiboard handling can be found in the "File Menu", so if you wish to "Create New DigiBoard", "New Digiboard", "Save Digiboard".
Creating new digiboards will reload the application and allow you to start over, unless you have been working on another digiboard, then you will be prompted to save your changes or not.
The "Open DigiBoard" option will prompt you to select a digiboard to open, unless you have made some changes to the board or working on a digiboard, then you will be prompted to save your changes or not.
The save option allows you to select if you want to quick save or if you want to select a directory to save to. If you have not saved before you will automatically be prompted to select a directory to save to.
The Timeline View is a feature that allows you to see all of the dates where the models have been moved or created on the board. If you then select one of those dates, you will then see the model's position on the board on that date.
The Timeline feature will give you an overview of the evolution of your different business models, visually making it easier to work with your business models.
While in timeline view a model will move when you press a new date if you have moved it around on the board.You cannot interact with the models while in timeline view, the only option is to select a model and use the "Show Model" action.
You can only access the different view modes if you have opened a digiboard from the "File Menu".
The Timeline also gives you the option to restore your digiboard from an earlier date by right clicking a date on the "Timeline menu", right click and choose "Restore To This Date"
The History view is a feature that allows you to see the content changes of your models, by clicking a change in the history view a list of changes will appear beneath it, and when you click one of those changes, you will be able to see what sort of changes have been made to the business model.
The history view do not show the visual changes like the timeline view, but only changes to the content of the business model that you chose.
Just like in the timeline view you are able to restore your model's content to a previous date if you wish to, you just have to right click on the change in the history, then you will get the options to show the model's content or to restore the model to the selected date change.
When you are in the history view all changes will be shown and sorted by date of changes. When you move your models those changes will stored in timeline and are not available in history view
When clicking "Release Notes" in the help menu, a new window will be opened in your default browser. All release notes a shown on our website.
Clicking on the "Check For Updates" in the "Help Menu" will send a request to see if the latest version is installed if not the latest will be downloaded and installed automatically, if it is already installed you will just get a info message stating that there is no new updates.
In the help menu you will find all of the shortcuts available for "The DigiBoard".
The "About" tab in the help menu will give you some information on what The Digiboard is used for.Go to the The DigiBoard tab on the website to learn more.
The internationalization is found in the "Help" menu under Language. Here there is a list of different languages that are supported in The DigiBoard. To begin with the only languages that are available are Danish and English. The languages are dynamically updated when you choose one, which means that you do not have to click in and out of dialogs to se the changes.
On a side note some technical words and common English application words have not been translated because it might confuse the user more than help in their common tongue.
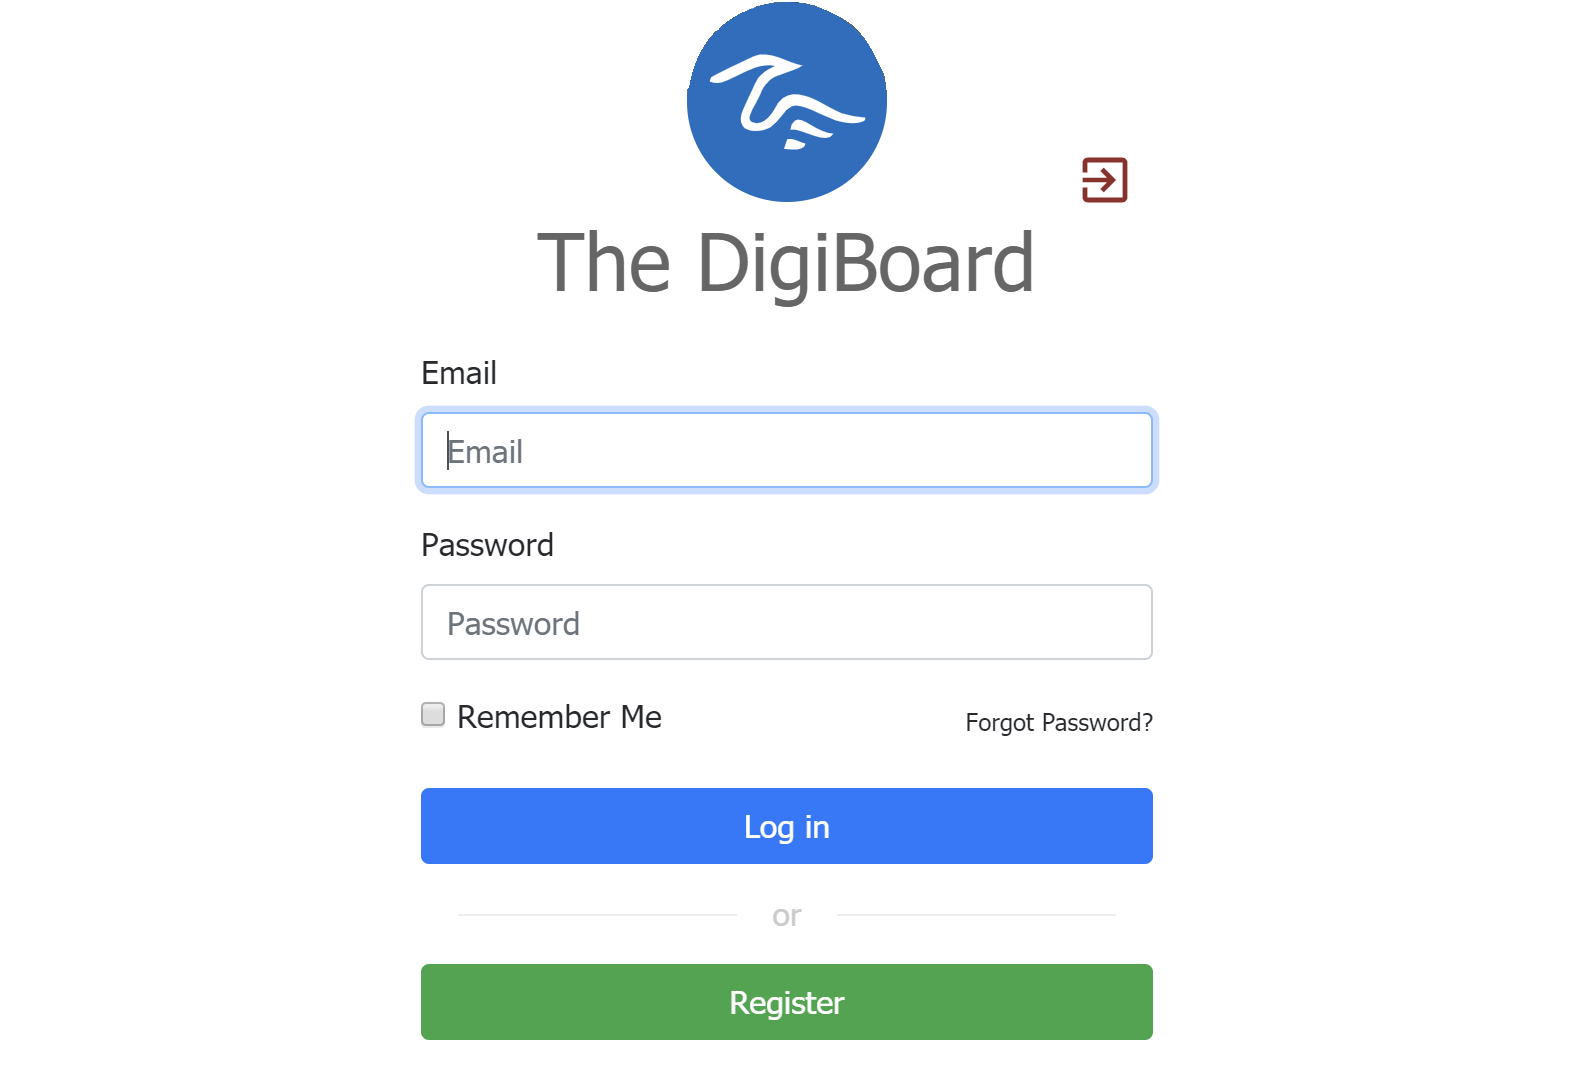
The sign in system is like any other way to sign in to an application. When you have registered a user, you will be able to sign in with your registered email and a password. You will of course be able to select a "Remember Me" option in order to avoid signing in everytime you start the application.
Additional info: You will have to sign in if you want to use the application!

The register and sign in system follows most similar ways to register and sign in and you only have to provide the email that you wish to use and your full name, an 8 character or more password and you will of course have to verify that password and email, so you avoid mistyping.By registering an account you will make yourself eligible to use the application.

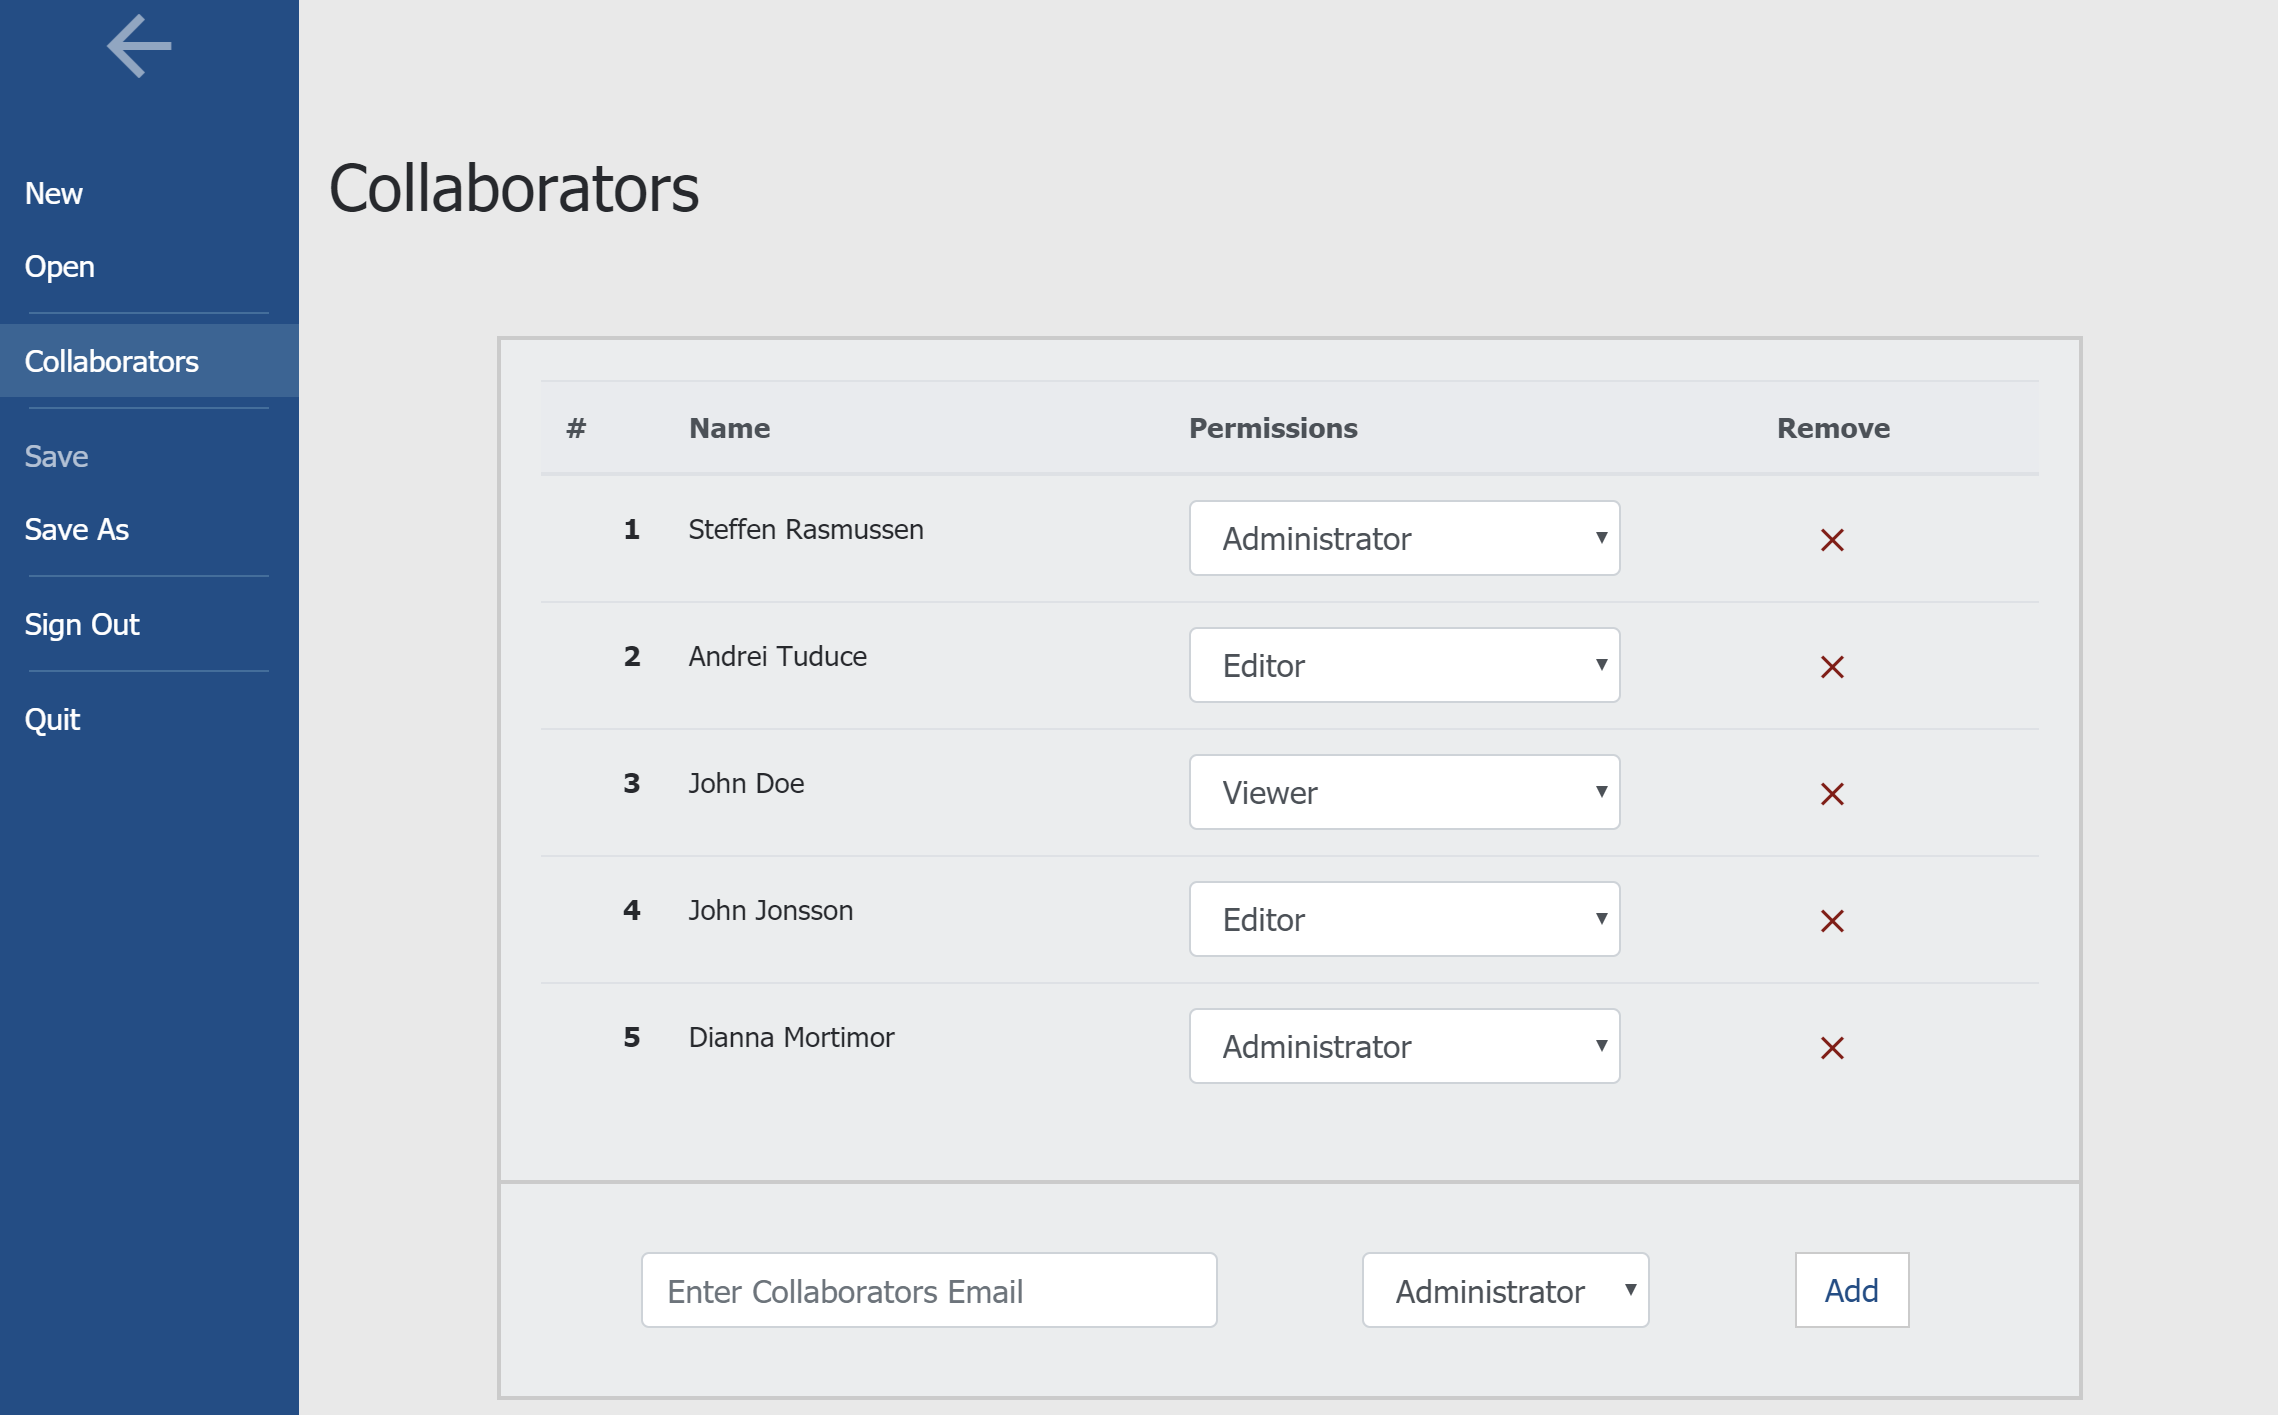
Adding collaborators to your digiboards is quite easy. In the "File Menu" you will find "Collaborators".
When adding collaborators you will have to set their permissions of use for your digiboard, which means what sort of rights everyone with access to the digiboard will have. By setting the permission to Viewer everyone with access will have the right to see what your digiboard contains, but will not be able to alter any data. By setting the permission to Editor everyone with access to the digiboard will be able to change models in the digiboard. And finally if you choose Administrator, everyone will have the exact same rights as the owner and make full use of all features in the application.
The collaborators are specified by adding an email of the user that you want to give specific access rights to the digiboard and click add. When adding collaborators they are added to the list above, where collaborators are listed. You will also be able to change or remove a specific email from the access rights list, by choosing permission type on a collaborator or clicking on the delete collaborator on the right.
Additional info: When creating a new digiboard you automatically become owner and will have Administrator permission.

The DigiBoard will provide different functionality for different users, it all depends on which license the users buys. At the time of writing this there are three license types:
All license types will give access to the use of The DigiBoard platform in some way, each license type is described below.
The DigiBoard Business Essentials license will give the user view rights of The DigiBoard. This means Essentials license users will only be able to see digiboards that they have access to through local digiboard files. This license type is especially useful for presentation, students and marketing.
This license type is also the cheapest and cost 44.10 DKK per user/month.
The DigiBoard Business Professional license gives the user full rights to work with The DigiBoard locally. Professional license users will be able to use all features of The DigiBoard except online features. All digiboards will be stored as local files and can be shared among everyone. This license type is especially useful for businesses, education and personal use.
The price for this license is 188.80 DKK per user/month.
The DigiBoard Business Premium license gives the user full rights to work with The DigiBoard in any way. Premium license users will be able to work either locally or externally with all digiboards. Premium license users have access to the online server and can therefor collaborate with others live . Premium license users will also be able to choose their own local server, if they need apply company security policies for protecting data.
This license type is especially useful for businesses and big companies.
The price for this license is 346.10 DKK per user/month.
The DigiBoard fully supports Mac OS and will work like the windows version including auto updating. With the build in auto updater there is no need for the accessing apple store to update the application.
It is possible to change passphrases used to encrypt digiboard files. When saving a digiboard you will have two options, to save with the typed in passphrase or to change the current passphrase and save afterwards. This feature allow owners to control the number of users with access, or to change the passphrase to something easier to remember.
All features explained in the "DigiBoards On The DigiServer" section is only available with a premium license which gives acccess to all online features.
With The DigiBoard, you are able to store your digiboardson the DigiServer, which is a part of The Digi Business.
In order to save a digiboard on the DigiServer read the next section, or if you want to save a online digiboard locally.
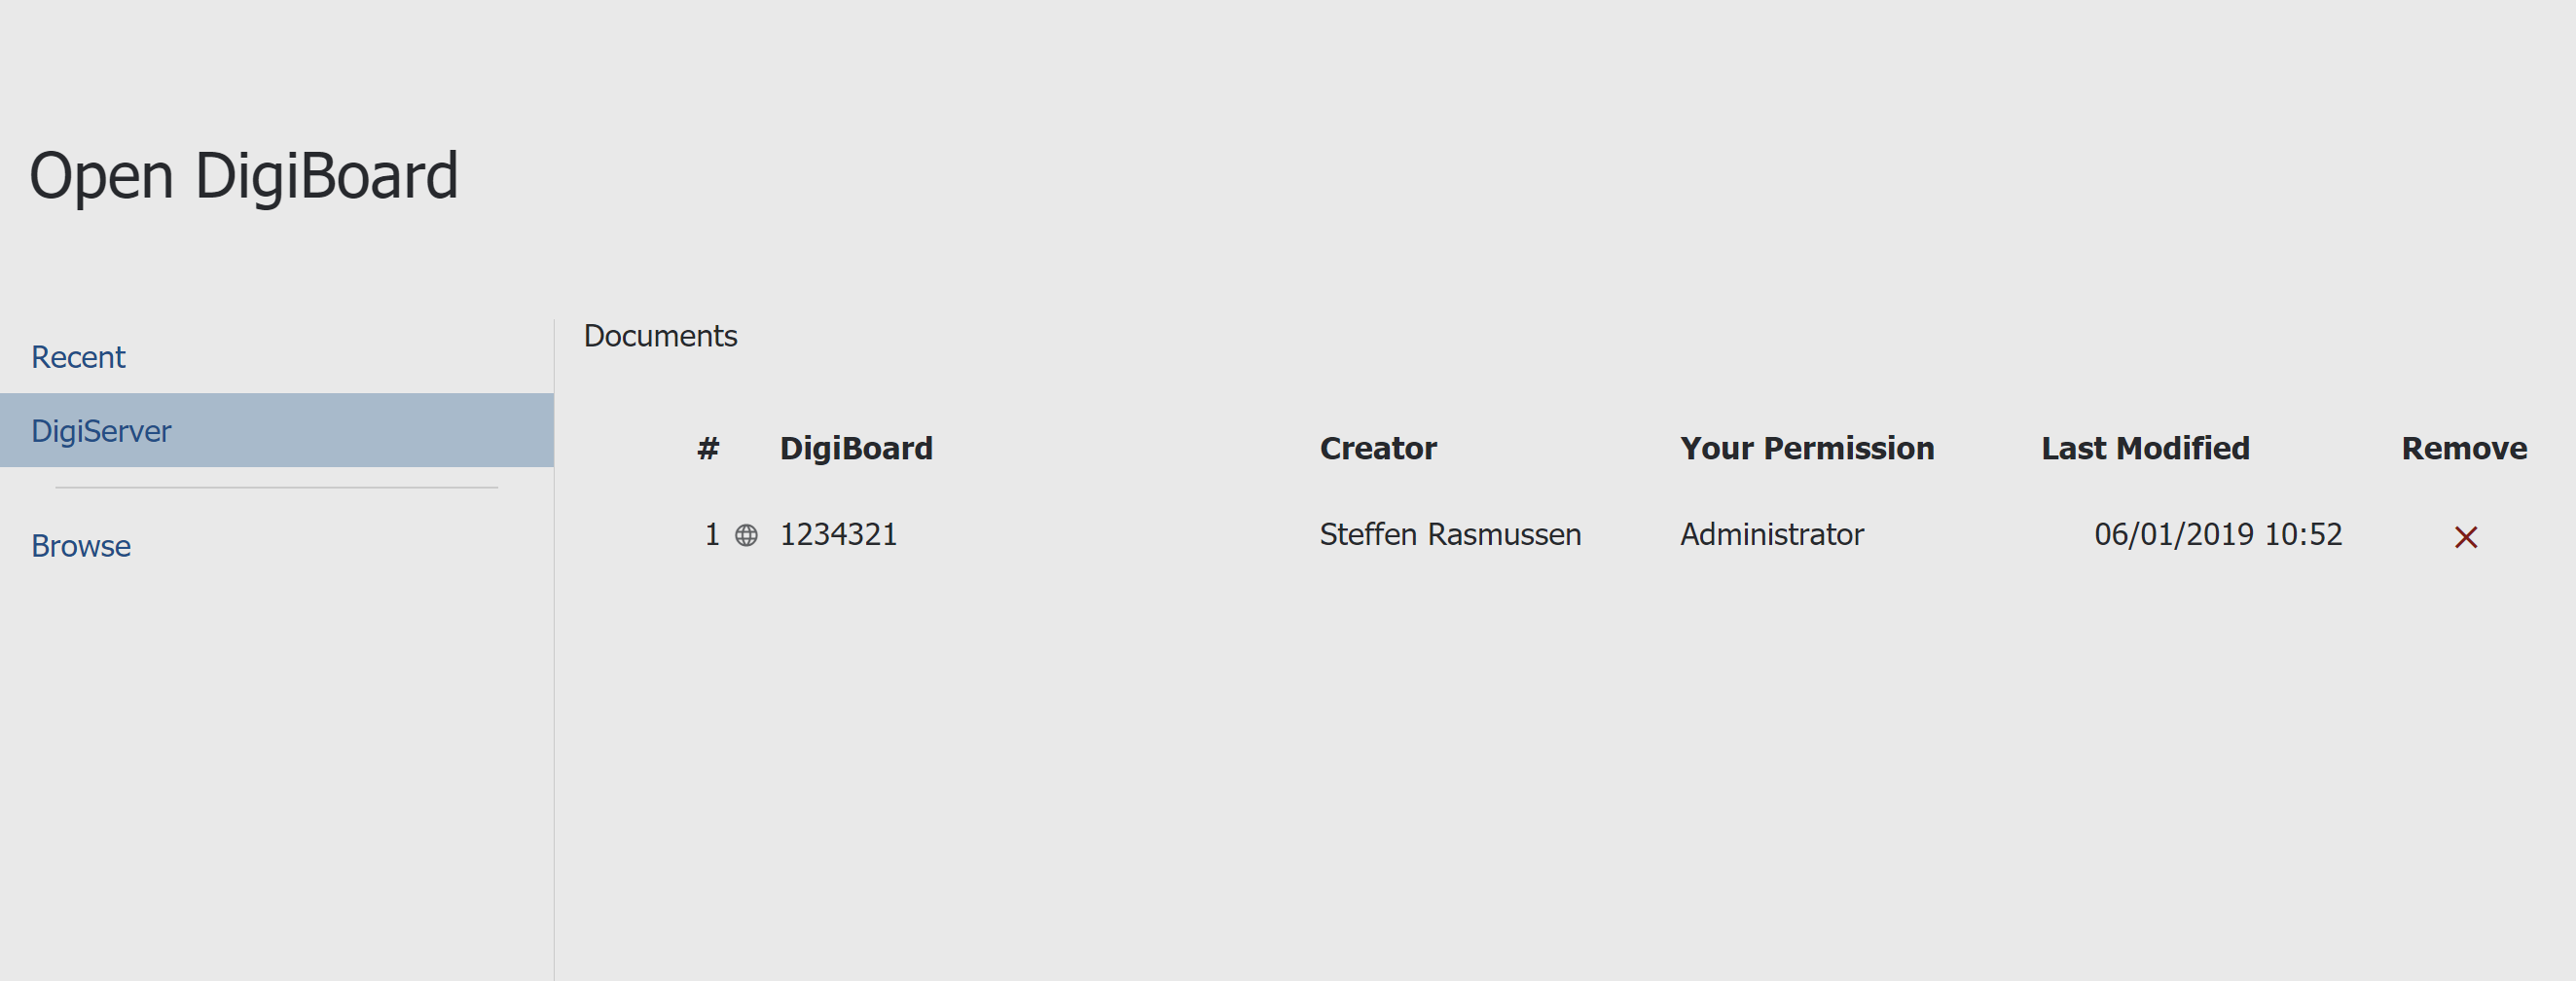
When you want to access a digiboard stored on the DigiServer all you have to do is to click "Open" and then "DigiServer", then a window show the digiboards you have available. Then you select the digiboard you want to open in the list.
You will also be able to remove digiboards from the DigiServer if you are the owner/administrator of the digiboard, again click "Open" and then "DigiServer", select a digiboard from the list and click on the delete button on the right.

You will also be able to see digiboards that you have been invited to by your colleagues. Though you will not be able to delete those digiboards from your list of digiboards unless you have administrator permission, you can always ask if you can be removed if you do not want to be a part of the digiboard.
In order to convert your digiboards from a local file to put it up on the server or vice versa, you have to change the save location of your digiboard. In order to change the save location you have to click "File" in the menubar and then "Save As", where you have to choose "Save To Local" or "Save To Server" in order to save it locally or on the DigiServer.
For all digiboards stored on the DigiServer you will be able to use live collaboration as long as you have invited your colleague to your digiboard.The moment you connect to your online digiboard where multiple users have access you will be exposed to the live collaboration feature.
In order to invite users to you digiboard you will have to add the user to the collaborator list.You can invite a user to the digiboard by clicking on "File" in the menubar, then "Collaborators", then type in the email of the user, set the permissions needed and then click "Add"
You will automatically be sent an receipt when ever you register and buy a license within the application. The receipt will contain information about license type, price, user information, reference id, date of purchase, last four of credit card used and in the end The Digi Business information.
If you have been added manually by the administrator team of The Digi Business, then you will receive an invoice containing the same information as in the receipt, but you will also receive payment instructions.
As a part of the online features we have implemented an "Online Indicator", that shows if the digiboard is currently connected to the DigiServer or not. If the digiboard is connected it will flash green and show "Online", if it is not connectedit will flash red and show "Offline". While the indicator shows offline some menu options will be disabled and collaboration will not work until there has been established a connection.